Leaky spots around windows and doors are notoriously big problems for homeowners in locations with cold winters and humid summers, and they can lead to bigger problems. Even before adding insulation to your house, the most important step in making your house more comfortable is controlling air movement. The principle is pretty simple: plug up the holes in your house. Since doors and windows are the biggest holes in a home, weather-stripping is where your efforts should begin. Weather-stripping is a great DIY project too, since it involves just a very basic knowledge of tools.
Below you’ll find the best ways to weather-strip for reduced drafts and leaks this winter.
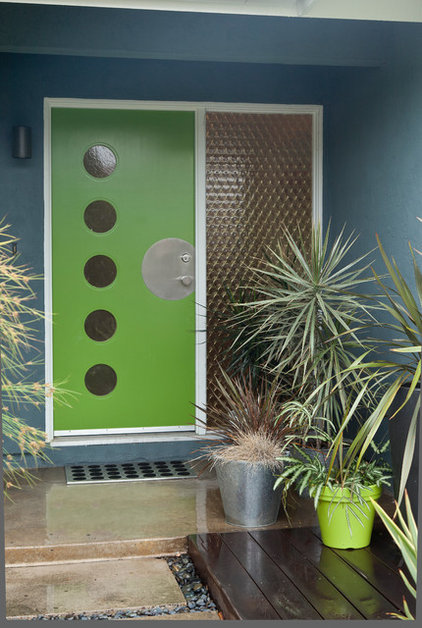
If it’s already getting cold at night where you live, you may be able to put your hand at different spots around your front door to see where there are drafts. If not, darken the interior of the house during the day and look for light around doors and windows. If you see light coming through spaces around the door, you need to improve your door’s weather stripping.
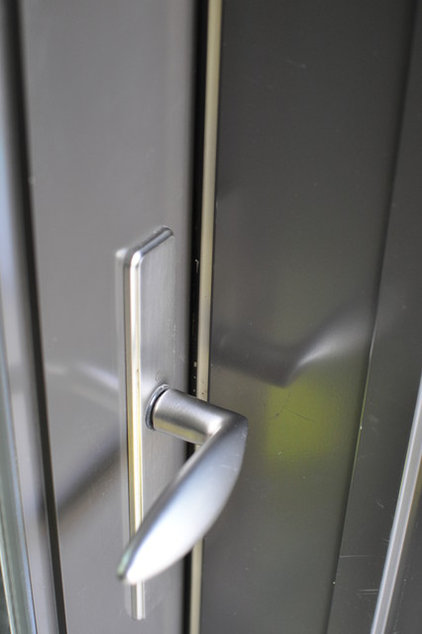
You’ll also want to check the compression abilities of existing weather stripping. Go outside and close and latch each door. See if the weather seal compresses. The tan strip in this photo is the weather seal. You should see the seal compress about halfway when the door closes. Sometimes the seal is there but does not compress enough to be effective.
You can tell that weather-stripping is compressed enough when you no longer see light coming in around the perimeter. If you see light, you’ll need to either enlarge the weather seal or adjust the strike plate on your door to get the door to close tighter. If you replace the weather stripping and your door has a groove, get the type that fits into the groove, since it will last much longer than the peel-and-stick type.
Under doors. The underside of the door is a notorious spot for air and water leaks, since the rubber sweeps that form the seal at the threshold wear down over time from rubbing.
If your threshold has large visible screws, you may be able to turn them to adjust part of the threshold upward to get a tight seal. If not, slide on a U-shaped metal sweep, adjust it so the door closes easily but seals well, then screw it into the face of the door to attach it. These sweeps can often be installed without your having to remove the door.
Because doors get a lot of abuse, a quality weather seal means you won’t be redoing this every year. If you do use the peel-and-stick variety, make sure to clean the door and jamb well before applying, both where the piece will attach and where it will hit the door.
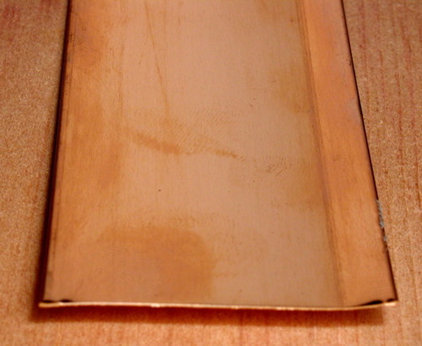
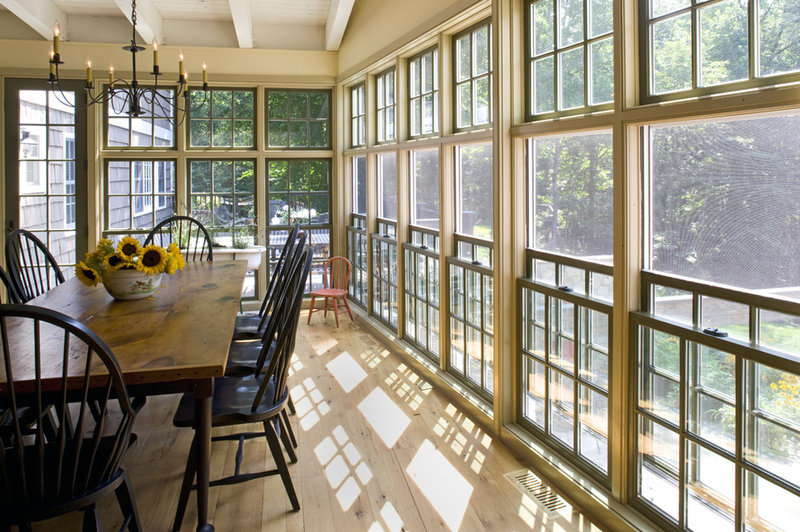
The copper strip above will work for the sash-sill and sash-sash contact; the nylon brush type is good for where the sashes slide against the jamb. Once you’ve upgraded the weather stripping on your windows, consider adding storm windows to the exterior if you have single-pane windows.


